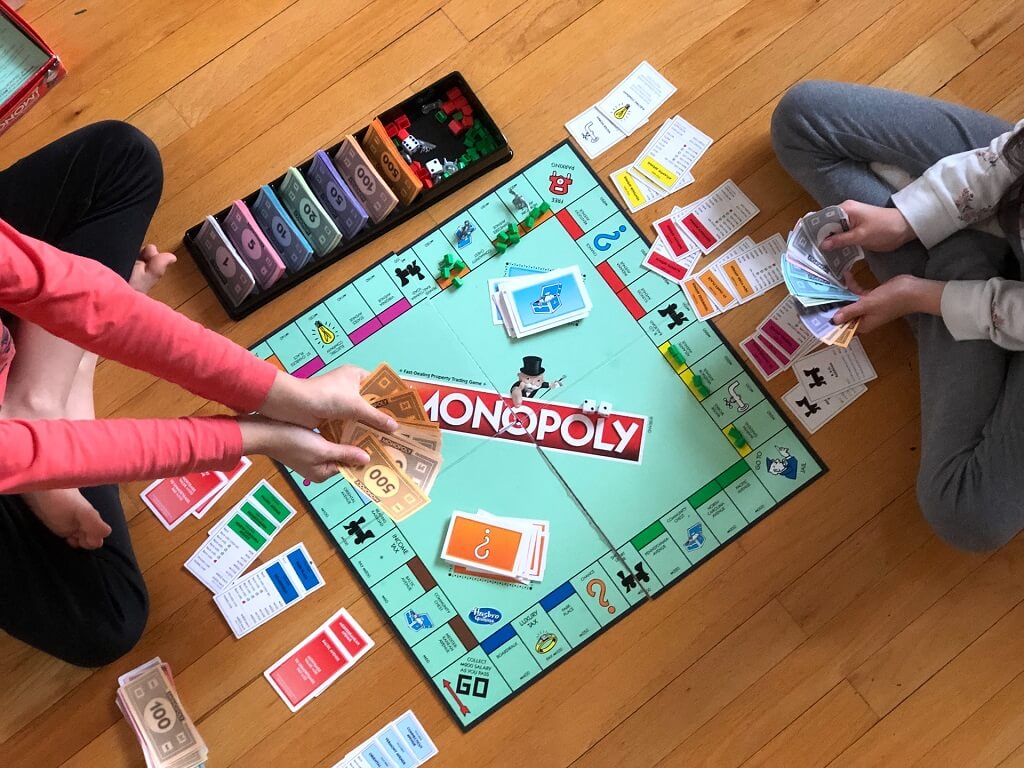
Creating a custom board game is a rewarding journey that combines creativity and technical precision. One of the most crucial steps in this process is delivering your design artwork to the manufacturer in a way that ensures the final product matches your vision.
To make this process smooth, it’s essential to follow specific guidelines when preparing your artwork. Here are six critical tips that will help you provide trouble-free artwork to your board game manufacturer, ensuring that the production process goes off without a hitch.
Table of Contents
1. Provide Your Design Artwork in the Correct File Format
The format in which you deliver your design files can significantly impact the production process. Most manufacturers, including us, prefer receiving artwork in one of the following formats: AI (Adobe Illustrator), PDF, PSD (Adobe Photoshop), or CRD (CorelDRAW).
- AI (Adobe Illustrator): This vector-based format is ideal for scalable designs. It ensures that your artwork remains sharp, no matter the size of the printed board game components. AI files also allow for easy color adjustments and modifications if needed.
- PDF (Portable Document Format): PDFs are versatile and widely used. They preserve the integrity of your design, including fonts and images, and are compatible with most design software. A PDF file is an excellent choice if your design includes both vector and raster elements.
- PSD (Adobe Photoshop): If your design is raster-based (composed of pixels), a PSD file is the way to go. It allows for high-quality image manipulation and retains layers, making it easier to tweak specific parts of your design.
- CRD (CorelDRAW): This format is similar to AI but is used primarily by those who prefer CorelDRAW as their design software. It is also vector-based and supports complex designs.
These formats are industry standards for high-quality print production and allow us to handle your artwork with precision. By providing your artwork in one of these formats, you ensure that your design will be compatible with our systems, reducing the likelihood of errors and delays.
2. Use the CMYK Color Format
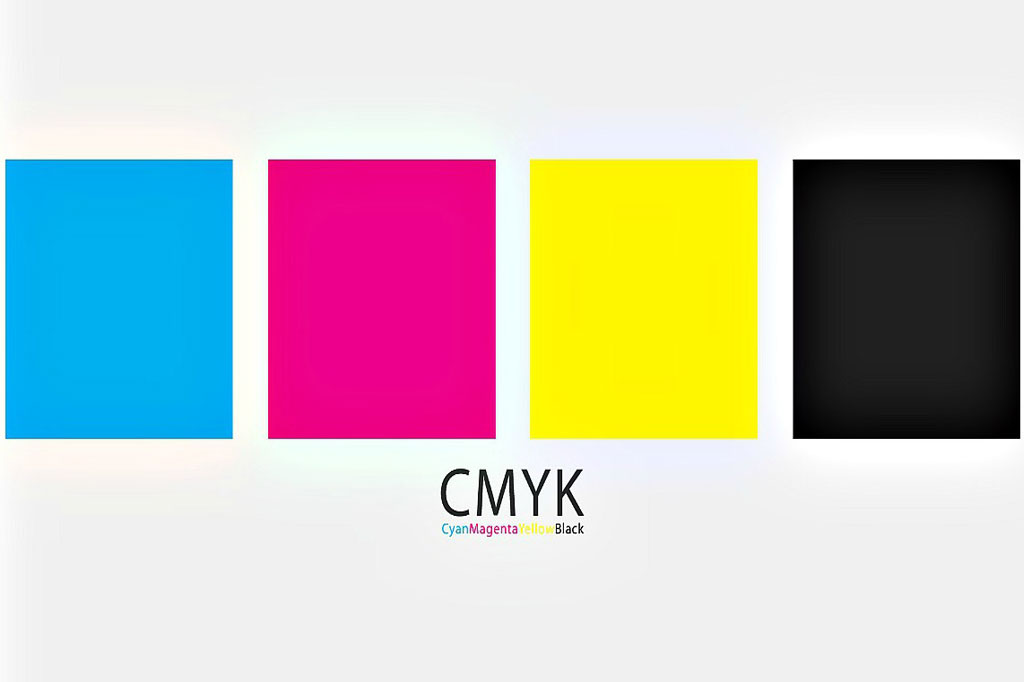
Color plays a vital role in the overall aesthetic of your board game, and it’s essential to get it right. The color format for print should be CMYK, not RGB. This guideline is crucial because the two color formats serve different purposes.
- RGB (Red, Green, Blue): While RGB works great for web design and digital previews, it doesn’t translate well to print, often leading to color discrepancies.
- CMYK (Cyan, Magenta, Yellow, Black): This is the standard color format for printing. CMYK creates colors through a subtractive process, mixing these four inks to produce the final colors on your printed board game.
Additionally, make sure that black is represented as pure black (C=0, M=0, Y=0, K=100) in your design. This ensures a rich, deep black that stands out on your game components.
3. Maintain a Resolution of At Least 300 PPI
Resolution is key to producing crisp, clear images and text in your board game. The standard resolution we recommended for high-quality prints is 300 ppi (pixels per inch). This resolution is the industry standard for high-quality printing and ensures that your design looks sharp and professional.
By ensuring your artwork is at 300 PPI or higher, you help us produce a final product that meets the highest standards of visual excellence.
4. Include a Bleeding Area of 3-5 mm

Bleeding is the extra area around your design that ensures the artwork extends beyond the edges of the finished product, preventing unwanted white borders.
- Why Bleeding is Important: During the printing and cutting process, slight movements can occur. A bleeding area of 3-5 mm ensures that your design extends beyond the final cut line, preventing any unintended white spaces on the edges of your printed product.
- Setting Up Bleeding: If you’re unsure how to set up a bleeding area, reach out to your manufacturer for guidance. Many manufacturers provide a die-cut line or template that you can use to create your artwork, ensuring that the bleeding is correctly applied.
Neglecting to include a bleeding area can lead to undesirable results, such as misaligned cuts or uneven borders.
5. Convert All Text to Curves
Fonts are a crucial part of your design, but they can become a source of problems if not handled correctly. When sending your artwork, ensure that all text is converted to curves (also known as outlines or paths).
- Why Convert Text to Curves: Converting text to curves ensures that the text is transformed into vector shapes. This means that the text is no longer dependent on font files being present on the manufacturer’s system. It prevents issues where the wrong font is substituted or where text appears differently due to font mismatches.
- How to Convert: In most design software, converting text to curves is a simple process. In Adobe Illustrator, for example, you can do this by selecting the text and choosing “Create Outlines” from the Type menu.
Remember to save a copy of your original file with editable text before converting to curves, as you won’t be able to make text edits easily afterward.
6. Use the Appropriate File Transfer Method

The method you use to transfer your artwork files can also impact the manufacturing process.
- Small Files (Under 10 MB): If your artwork file is smaller than 10 MB, you can send it directly via email. This is convenient and quick, but make sure that the file is properly compressed without losing quality.
- Large Files (Over 10 MB): For larger files, email might not be the best option. Instead, use an online file transfer service like WeTransfer or Dropbox which allows you to send large files without compromising on quality or risking file corruption.
- Ensure File Integrity: Whichever method you choose, ensure that the file is complete and intact before sending. You can compress the file into a ZIP folder to preserve its integrity during the transfer.
Following these transfer guidelines will ensure that your files arrive safely and in good condition, ready for production.